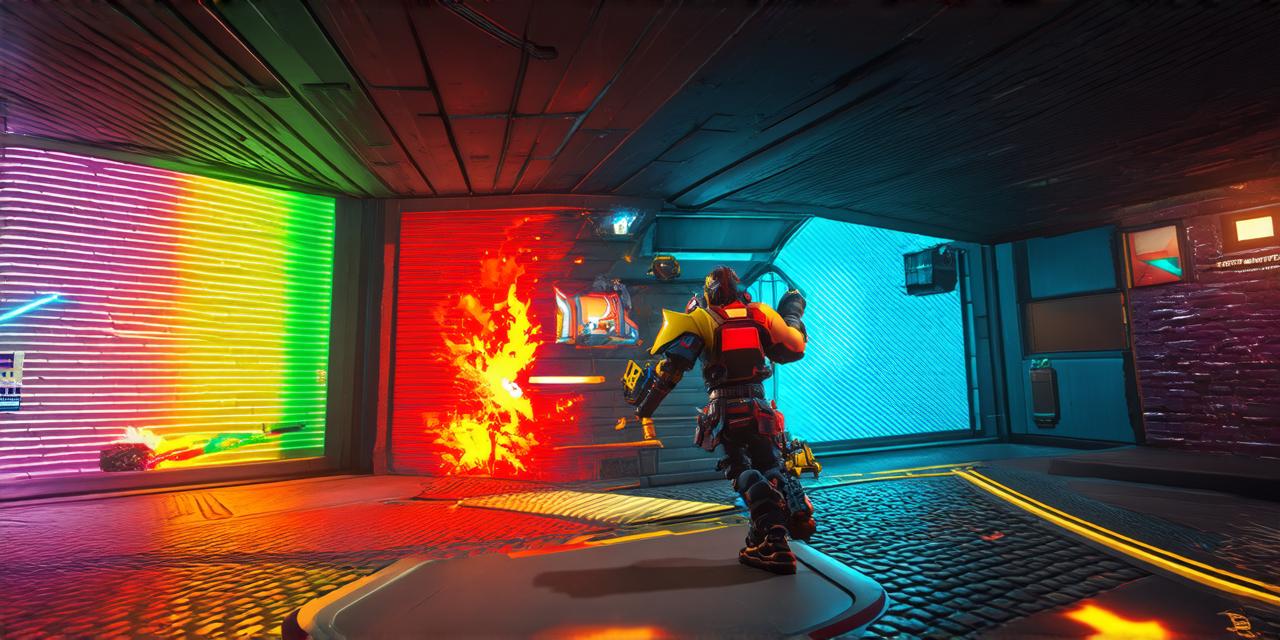
In today’s world of gaming, creating stunning visuals and immersive experiences is more important than ever before. One of the most powerful tools available for achieving this goal is Unity 3D, a popular game engine that allows developers to create games for a wide range of platforms.
What is Sprite Animation?
Before we dive into the world of sprite animation in Unity 3D, it’s important to understand what sprites are and how they can be used in game design. A sprite is a two-dimensional image that can be animated to create moving graphics.
In games, sprites are commonly used for characters, backgrounds, and other graphical elements that need to move or change position over time.
Sprite animation involves creating a series of images (frames) that represent the movement or actions of a character or object. These frames are then played back in sequence at a specific rate to create the illusion of movement. For example, if you were creating a game about a character walking, you might have a frame of the character standing still, followed by a frame of the character taking a step forward, another frame of the character stepping forward, and so on until they reach their destination.
Why Use Sprite Animation in Unity 3D?
One of the main reasons why sprite animation is such an important tool for game developers is because it allows you to create visually stunning graphics with minimal resources. Because sprites are two-dimensional images, they can be easily imported into Unity and used without requiring a lot of processing power or memory.
This makes them ideal for games that need to run smoothly on low-end hardware, such as mobile devices or older computers.
How to Create Sprite Animation in Unity 3D
Now that we have a better understanding of what sprite animation is and why it’s important let’s take a look at how you can create sprite animations in Unity 3D.
The first step is to import your sprites into Unity. You can do this by dragging the images into the Project window or by using the Import Package menu. Once your sprites are imported, you will need to assign them to a Sprite Renderer component in your game object.
Next, you will need to create an animation clip for your character or object. To do this, go to the Animation window and click on Create > Animation Clip. In the new animation clip, you can add frames for each movement or action that you want to include in the animation.
You can then preview the animation by clicking on the Play button or by using the timeline view.

Once you have created your animation, you will need to assign it to the Sprite Renderer component. To do this, drag the animation clip from the Animation window into the Project window and then drag it onto the Sprite Renderer component in your game object. You can then adjust the settings for the animation, such as the looping behavior and the speed, to fine-tune the movement of your characters and objects.
Case Studies and Personal Experiences
To help you understand how sprite animation can be used in Unity 3D, let’s take a look at a few examples from real-world games.
One game that makes excellent use of sprite animation is Super Mario Bros.
